Changing the clutch cylinder in a classic car yourself: Instructions
Introduction
Changing the clutch cylinder in a classic car can be a challenging but also very rewarding task. A defective clutch cylinder can make gear shifting difficult or impossible. Here you will find detailed instructions on how to replace the clutch cylinder in a classic car.
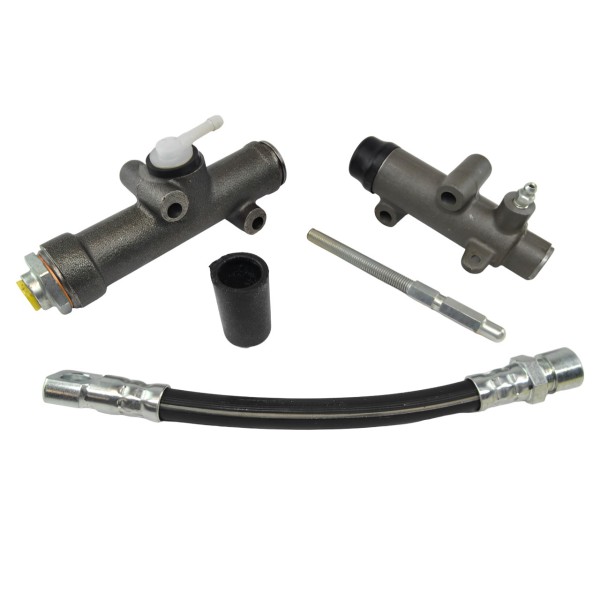
You can find some necessary items in our shop.
Tools and Materials
Before you start changing the clutch cylinder, you should make sure you have the necessary tools and materials on hand. These include:
- a new clutch cylinder (master or slave cylinder, depending on which is defective)
- a set of wrenches
- brake fluid and a container for collecting the old fluid
- jack and jack blocks
- a bleeding kit
It is also helpful to have the workshop manual for your specific vehicle model on hand.
1.Preparation
Before you start work, make sure the vehicle is on a level surface and the handbrake is on. Raise the vehicle with a jack and secure it with jack stands. Also, disconnect the battery to avoid accidental short circuits.
2. Access the clutch cylinder
To replace the clutch cylinder, you must first locate it. The master cylinder is usually located in the engine compartment near the brake booster, while the slave cylinder is found on the transmission. Remove any other components that may be obstructing access to the clutch cylinder.
3. Remove old brake fluid & remove clutch cylinder
Before removing the old clutch cylinder, drain the old brake fluid. Use a catch pan and open the bleeder valve on the slave cylinder to drain the fluid. Once the old brake fluid is removed, you can disconnect the lines from the clutch cylinder, being careful not to damage the lines. Remove the mounting bolts that hold the clutch cylinder in place and take out the old cylinder.
4. Install new clutch cylinder
Place the new clutch cylinder in place of the old one and secure it with the bolts. Reconnect the lines to the new clutch cylinder, making sure the connections are tight and there are no leaks.
5. Bleed the system
Pour new brake fluid into the clutch system reservoir and use the bleed kit to remove air from the system. Open the bleed valve on the slave cylinder and pump the clutch until no more air bubbles come out.
6. Final steps
After bleeding the system, reconnect the battery and start the vehicle. Test the clutch and make sure it works smoothly and the transmission shifts easily. Finally, check all connections for leaks and make sure there are no brake fluid leaks.
Conclusion
Changing a clutch cylinder is a challenging task, but with the right preparation and care, even amateur mechanics can handle it. If the process seems too complicated for you, it is advisable to consult a professional. A well-maintained clutch system will ensure a longer life for your vehicle and a more pleasant driving experience.
Do you have any questions, comments or further tips about this process? Feel free to leave a comment!


