Replacing the parking brake cable on a classic car: A step-by-step guide
Replacing the parking brake cable on a classic car is an important maintenance job to ensure the safety and reliability of the vehicle. Since the parking brake is subject to a lot of use, especially on classic cars, it is important to regularly check the cable for wear and tear and replace it if necessary. In this blog post, we will explain step by step how to replace the parking brake cable on a classic car yourself.
Step 1: Secure and prepare the vehicle
- Park and secure
- Lift the vehicle
- Remove wheels
Step 2: Remove old parking brake cable
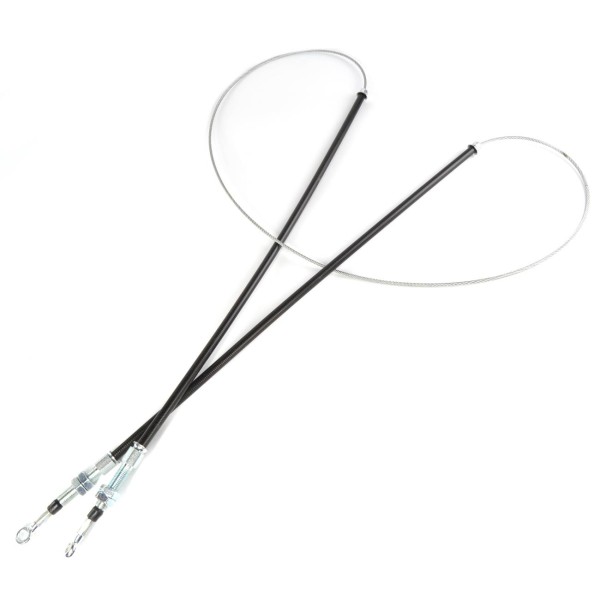
- Locating the cable: The parking brake cable runs along the underbody and is attached to the rear brakes. Follow the cable from the handbrake to the rear brakes.
- Releasing the cable: Find the cable's attachment points. Most of the time, these are secured by clips or screws. Carefully loosen these attachments using a wrench or pliers.
- Removing the cable: After you have loosened all the fastenings, you can carefully pull out the old cable. Make sure you remember how the cable was routed in order to install the new cable correctly.
Step 3: Installing the new parking brake cable
- Preparation: Clean the fastening points and the area around the brake cable with a wire brush and some WD-40. This will make installation easier and prevent rust.
- Laying the cable: Insert the new parking brake cable in the reverse order of removal. Make sure it is routed correctly and without tension.
- Fastening: Re-attach the cable to the designated points. Tighten all bolts and nuts and check the position of the clips.
Step 4: Function test and fine adjustment
- Testing the handbrake: After the new cable is installed, test the function of the handbrake by pulling it several times. The cable should be tight and apply the brakes evenly.
- Fine adjustment: If the cable is too loose or too tight, adjust it accordingly using the adjustment screws, which are usually located near the handbrake lever or under the vehicle.
- Fit the wheels: Put the wheels back on and tighten the wheel nuts. Carefully lower the vehicle and remove the jack stands.
Step 5: Final check
- Safety check: Take a short test drive to make sure that the handbrake is working correctly and bringing the vehicle to a safe stop.
- Retightening: After driving a few kilometers, especially with older vehicles, it is advisable to check the tension of the cable again and readjust it if necessary.
Conclusion
Replacing the parking brake cable on a classic car requires some skill and the right tools, but with the right preparation and care, it is easy to do yourself. Regular maintenance and inspection not only extends the life of your classic car, but also ensures your safety and that of your passengers.
Good luck with your work and safe journeys!
Do you have any questions or further tips on replacing the parking brake cable? Feel free to leave a comment!


