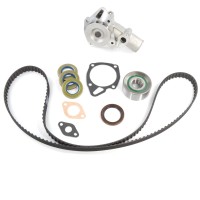
Timing belt replacement FIAT 124 Spider
Here you will find a sketch of the front of the engine:
Front side engine Fiat 124 Spider
Required parts:
AS/BS (1400 engines):
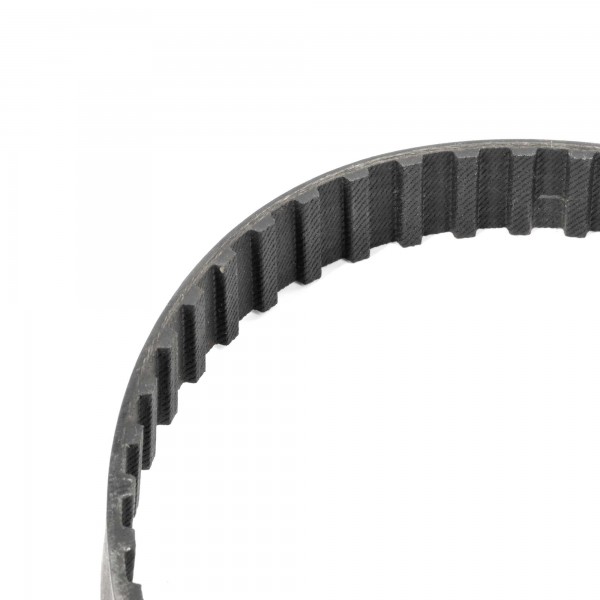
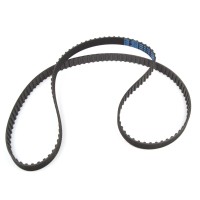
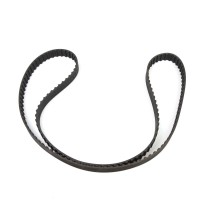
- Timing belt 1400 (item no. 1162110)
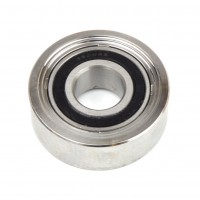
- Tension roller 1400 (item no. 1162120)
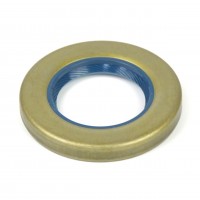
- Shaft sealing ring crankshaft front (item no. 1162103)
- 3x shaft sealing ring camshaft (item no. 1162101)
BS1/CS/CS1/CSA (1600/1800 engines):
- Timing belt 1600/1800 (item no. 1162111 or 1162408 Premium)
- Tension roller 1600/1800/2000 (item no. 1162123)
- Shaft sealing ring crankshaft front (item no. 1162103)
- 3x shaft sealing ring camshaft (item no. 1162101)
CS2/CS0/DS/VX (2000 engines):
- Timing belt 2000 (item no. 1162112 or 1162409 Premium)
- Tension roller 1600/1800/2000 (item no. 1162123)
- Shaft sealing ring crankshaft front (item no. 1162103)
- 3x shaft sealing ring camshaft (item no. 1162101)
How to change the timing belt including replacing the shaft seals - FIAT 124 Spider
To have more space when working, you should remove the cooler. This allows better access to the front of the engine. This way you can also check the condition of the radiator hoses, the thermostat and the radiator cap.
Next, remove the V-belt and timing belt cover.
You will need an impact wrench to remove the camshaft and countershaft gear bolts as well as the crankshaft pulley nut (use a 38mm or 1.5" socket wrench). Even with an impact wrench, the crank nut may not move! If it won't come off, place an adapter with a long pry bar on it, place the bar on the driver's side inner fender (protect the fender with a piece of wood), and crank the engine briefly using the starter. Rotating the motor loosens the nut. ONLY do this with the timing belt installed.
NOTE: 1983 and later Spiders have a crankshaft pulley bolt in place of the nut, using a 24mm socket wrench. This is a reverse thread screw!
Before removing the crankshaft pulley, turn the engine so that all timing marks line up with the pointers (the mark on the crankshaft pulley should be at 1 o'clock) and loosen the cam and crankshaft gear bolts. Ideally, you would loosen the pulley bolts with the timing belt still on so the gears don't move. Be careful because sometimes the drive sprocket can slip under the belt. Do not hit the valves into the piston or against each other! If a screw is difficult or impossible to loosen and the gear rotates even with the timing belt installed, you can remove the belt, wrap it completely around the gear and hold its ends together with clamps. Hold the clamp handles while loosening the screw with an impact wrench.
Once all gears have been dismantled, the shaft seals can be removed. You can pry it out with a screwdriver or punch a hole in it with a nail and then insert a screw into the hole. When screwing in the seal is driven out.
Be sure to remove any metal shavings that may have formed!
Coat the inner lip of the new shaft seals with engine oil. Insert them carefully using a large socket wrench. The crankshaft seal is a little more difficult, but a little patience pays off. If installation is too difficult, remove the oil seal flange and press the oil seal into place on your workbench.
This is a good time to check the drive sprocket for wear! Since this gear is only half the size of the others, it tends to show more wear and tear!
Once all the oil seals are installed, you can reinstall the camshaft sprockets and crankshaft pulley. Apply a small amount of thread locking compound to all bolts and the crankshaft nut. The torque specified in the workshop manual for the camshaft bolts is 118 Nm (87 ft-lb) and for the crankshaft nut 245 Nm (180 ft-lb). The 24mm bolt on the 83-85 spiders has a torque of 176 nm (130 ft-lb).
Align the marks on the camshaft pulleys, lock the new tensioner in a loose position and install the timing belt. Check the date of manufacture of the belt beforehand! It should not have been stored for more than five years! The mark on the crankshaft pulley points towards the lower fastening screw of the tensioner bearing block - or approximately in the 1 o'clock position.
Guide the timing belt from bottom to top over the pulleys. You may need to move some of the gears slightly to align them with the belt.
Once the belt is installed, release the tensioner and allow the timing belt tensioner spring to take up the slack in the belt. You may need to “help” the tension spring to keep the belt from sagging.
Once all tension is released, tighten both the tension nut (17mm) and pivot bolt (13mm).
Now comes the most important part: turn the engine two turns by hand or with a wrench to make sure everything is aligned correctly and nothing is colliding with each other.
After two revolutions, turn the engine so that the crankshaft timing marks align. Double check the marks on the camshaft sprockets - they may not be exactly right, but they should be close together.
If necessary, you can also replace the water pump, the seal on the T-piece, and the V-belt from the water pump to the alternator when changing the timing belt.
Reinstall the belt cover, V-belt and radiator and bleed the cooling system.

