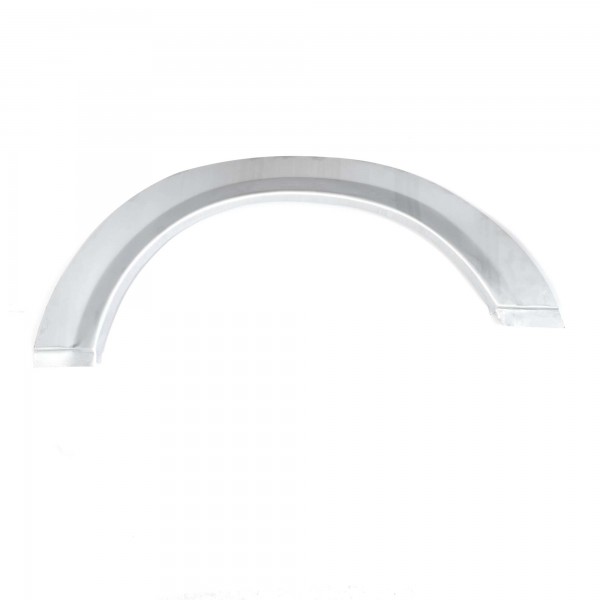
Wheel arch repair panel rear left 103mm Height Fiat 124 Spider
- Article number: 1110142
- Comparison no.: 50810, 206459, 1112026
- Installed: 1
Primed.
For left side in direction of travel.
| Goods area: | Body parts |
| Quality: | 3 - Replica Plus |
| Condition: | New |
| Manufacturer | Model (check type) | Type |
|---|---|---|
| FIAT | 124 Spider | AS (1400) BS (1400) BS1 (1600) CS (1600) CS0 (2000) CS1 (1800) CS2 (2000) CSA (1800) DS (2000) VX (2000) |
If the originale wheel arch is still in the vehicle, this part can be used. If the wheel arch has already been replaced, item no. 1112027 should be ordered.
In most cases with the US models and partly also with Euro Spidern the outer wheel arch article no.:1110085 is heavily rusted in the contact area with the wheel arch and slightly higher in the area of the arch-shaped reinforcement (only with US models), because paint or wax was never applied at this point original. Here you should definitely change both parts to achieve a permanent repair.
At our body shop, in such a case, first the wheel arch edge is marked on the side panel (so that you can then ensure a perfect fit), then the wheel arch is cut out as far as necessary. Now the outer wheel arch, if not further affected by rust, is removed up to approx. 3 cm before the connection to the inner wheel arch.bsThen the wheel arch is adjusted and the side part is cut off with a pair of pliers. Both contact surfaces are made bare and treated with spot-weld primer. Both parts are now joined together by spot welding. Now the new wheel housing is fitted. Before inserting it, we tin the transition from the wheel arch to the side part to create a metallic connection. The wheel arch and wheel housing are now primed once in the area that will later no longer be accessible and then painted. The joint between the wheel arch and the side panel is now additionally sealed with a PU sealant. The contact points of the wheel arch to the wheel housing and of the new wheel housing to the old wheel housing are now made bare (1 cm wide). Now apply spot weld primer to the bare contact points and insert the wheel housing by spot welding (as at original). The transition points are now painted again in 2 steps. Additional PU sealant is applied to the wheel housing at the transition. After painting the vehicle / side part, underbody protection is applied to the wheel housing and the wheel arch is flooded with wax from the inside. After the treatment, we have never had a wheel arch with renewed rust infestation.
 Wheel house rear outside left without edge to inner wheel house Fiat 124 Spider (66-85)
  Wheel house rear outside left without edge to inner wheel house Fiat 124 Spider (66-85)
  Wheel arch rear outer right without edge to inner wheel arch Fiat 124 Spider (66-85)
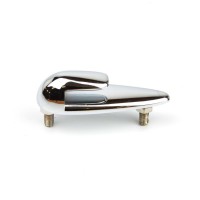
  Heating slide Fiat 124 Spider, 124 Coupé chrome-plated slide for heating lever (B-ware)
  Side member under centre floor panel for right/left Fiat 124 Spider (66-85)
 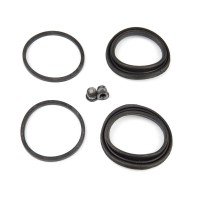 Brake gaiter set front 48mm Fiat 124 Spider (69-84), 124 Coupé, 128, X1/9, Lancia Beta Montecarlo
  Sensor for oil pressure indicator Fiat 124 Spider, 124 Coupé, 130, 132, Dino, X1/9, Lancia Beta,...
 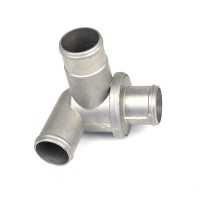 Thermostat Fiat 124 Spider CS-DS (75-85), 124 Coupé CC (external with 3 connections)
 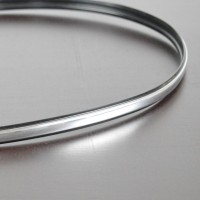 Chrome piping for armrest (60cm) Fiat 124 Spider, 124 Coupé, Dino Spider from VIN 190501 - Trim...
 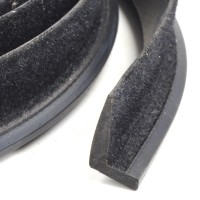 Piping for door windows and hood Fiat 124 Spider (set for both sides) Door hood trim strip piping
  Right floor pan with recess for catalytic converter Fiat 124 Spider (75-85) - base plate


