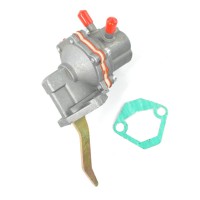
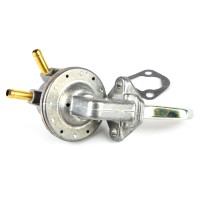
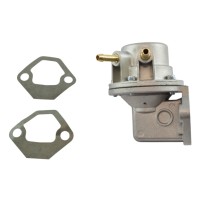
Installing a fuel pump on a classic car: step-by-step instructions
Installing a new fuel pump is one of the maintenance tasks that can often arise when restoring or maintaining a classic car. A functioning fuel pump is essential to ensure that the engine is reliably supplied with fuel. In this article, we will show you how to replace the fuel pump on your classic car in just a few steps.
Why a new fuel pump?
Over time, the fuel pump can wear out, resulting in insufficient fuel supply. Symptoms of this include engine judder, difficulty starting, or a sudden drop in power. If these signs occur, it may be time to replace the fuel pump.
Step 1: Secure and prepare the vehicle
- Park the vehicle safely
- Release fuel pressure
Tip: The best way to do this is to leave the engine running and disconnect the fuel line as soon as the engine dies. - Raise the vehicle
Step 2: Remove the old fuel pump
- Catch the fuel: Place a catch pan under the fuel pump to catch any fuel that leaks out.
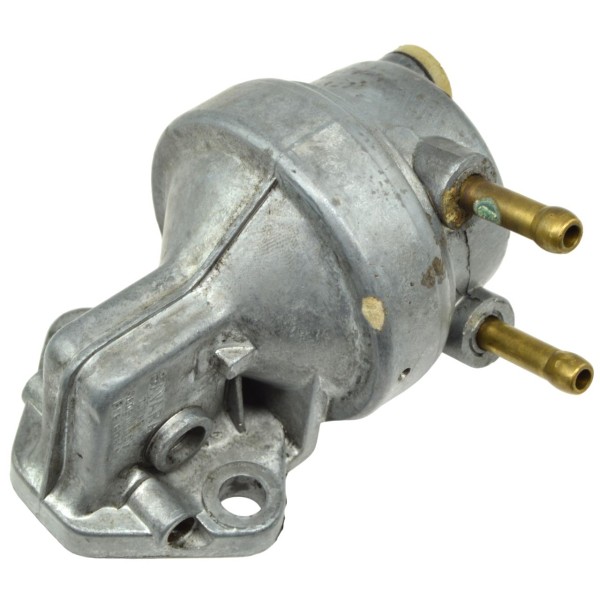
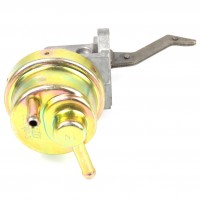
- Disconnect the hoses: Disconnect the fuel hoses from the pump. On older vehicles, these are often only attached with hose clamps that can be loosened with a screwdriver or pliers.
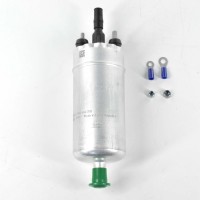
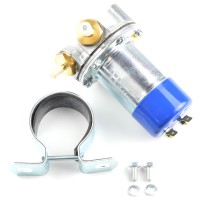
- Electrical connections (for electric pumps): If your classic car has an electric fuel pump, carefully disconnect the electrical connections.
- Dismantle the pump: Remove the screws or bolts that attach the pump to the engine block or frame. Be sure to carefully remove the gaskets to make it easier to install the new pump.
Step 3: Install the new fuel pump
- Prepare the new pump: Compare the old and new pumps to make sure they match. Clean the mating surfaces and check if new gaskets are required. Install them if necessary.
- Install the pump: Place the new fuel pump in the correct location and secure it with the appropriate screws or bolts. Be sure to tighten the bolts evenly to ensure a good seal.
- Attach hoses and connections: Connect the fuel hoses to the pump and fasten the hose clamps securely. For electric pumps, connect the electrical connections correctly.
Step 4: Check and complete the system
- Leak test: Before starting the vehicle, check all connections for leaks. There should be no fuel leaks.
- Start the engine: Start the engine and let it idle. Pay attention to smooth running and possible leaks.
- Test drive: Take a short test drive to make sure the vehicle runs normally and the fuel supply is stable.
Conclusion
Replacing the fuel pump on a classic car can be done on your own. By working carefully and following the steps exactly, this task can be accomplished without any problems. A new fuel pump ensures a reliable fuel supply and longevity for your classic car.
Good luck and safe driving!
Do you have any questions or further tips on installing a fuel pump? Feel free to leave a comment!

